About the backup client software INI file
Your custom branded backup agent software installer comes packaged with a .INI configuration file that passes in the default preference you specified on the installer build form for the brand.
After the backup client installer is launched and registered it will begin to use the INI file to track key state and value settings that power its' graphical user interface components, its' Schedulers Service, and its' Engine.
The INI file is encoded as a UTF-8 (Unicode) file and must maintain this format/encoding for proper operation.
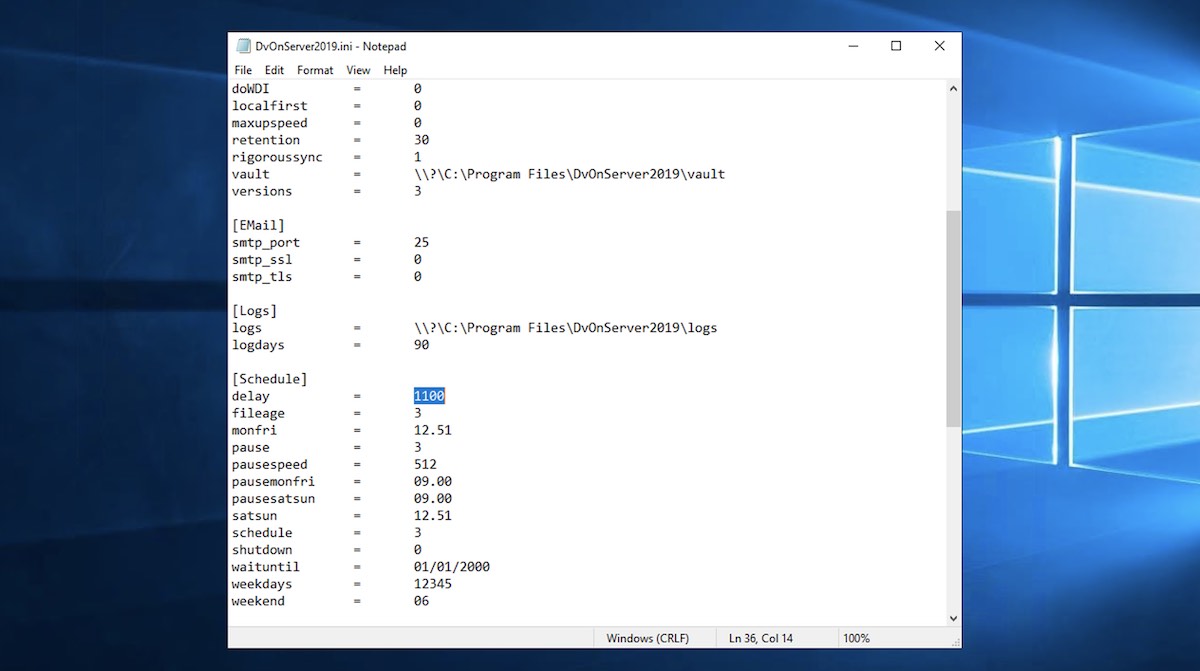
In short, the INI file is composed of [Sections] with 'key' = 'value' pairs, where the 'key' represents the INI setting name and the 'value' is that currently selected state. Many of the values use a very basic syntax where 0 (zero) means OFF/FALSE and 1 (one) means ON/True. Please refer to the following INI File Setting document for a complete listing and explanation of all Sections, Keys, and Values available to the software.
Ways the INI file can be modified for a deployed backup agent
Note: In the following example, we will focus on the delay setting which lives under the [Schedule] section of the INI. Per the INI File Settings document
[Schedule]
delay - Number of minutes between continuous runs (used when schedule = 0)
Getting started with the different methods
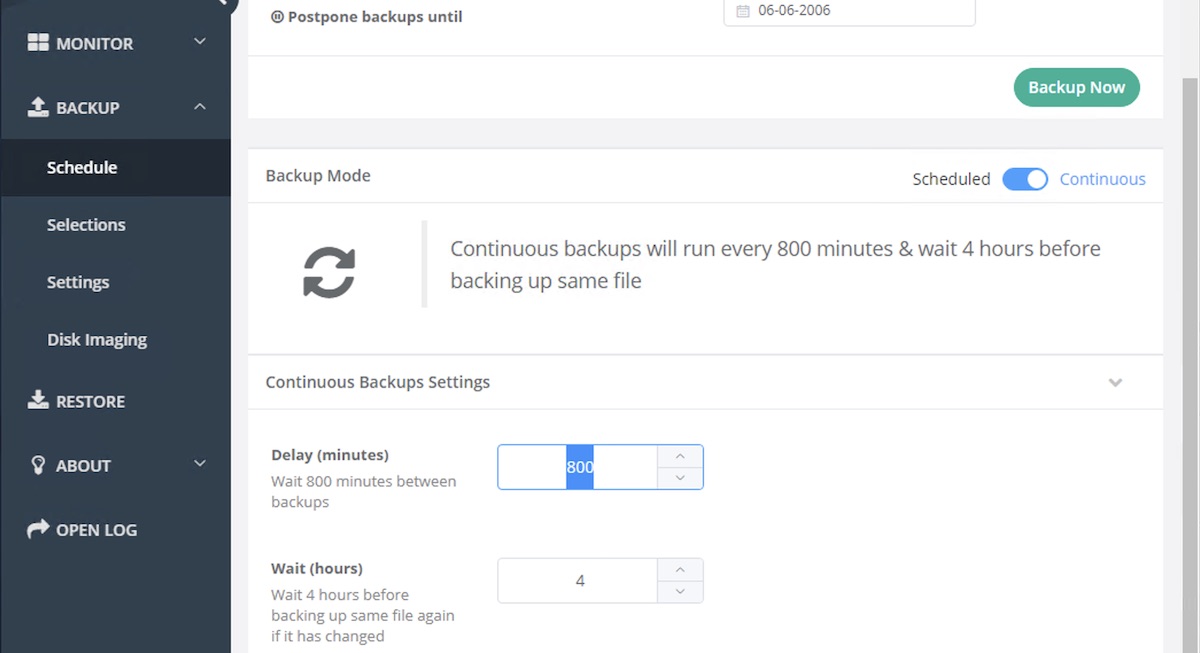
From the Backup Client GUI (locally):
Launch the backup client GUI and navigate to the Backup > Schedule page, ensure Continuous backup mode is active, then enter in the new delay value. Now we change it from 600 to 800. This change is automatically written to the INI, we are now done making changes in this case, and the backup service will launch every 800 minutes now.
From the Backup Ops Web Console (remotely) :
The steps below are covered in this quick video demonstrating the process of editing, updating, and syncing the backup clients' software configuration remotely from the Backup Ops web console.
To make changes remotely from the Backup Ops web console, navigate to the Transfers tab and click on the target computer, opening up the detail view for that machine. You will now see the 'Edit INI' button. Clicking the Edit INI button opens a full-fledged GUI based on a copy of the INI text file for this machine stored in the remote vault.
Next, we change the delay setting from 800 to 900 by navigating to the Backup Schedule tab which reflects the UX of the deployed backup agent.
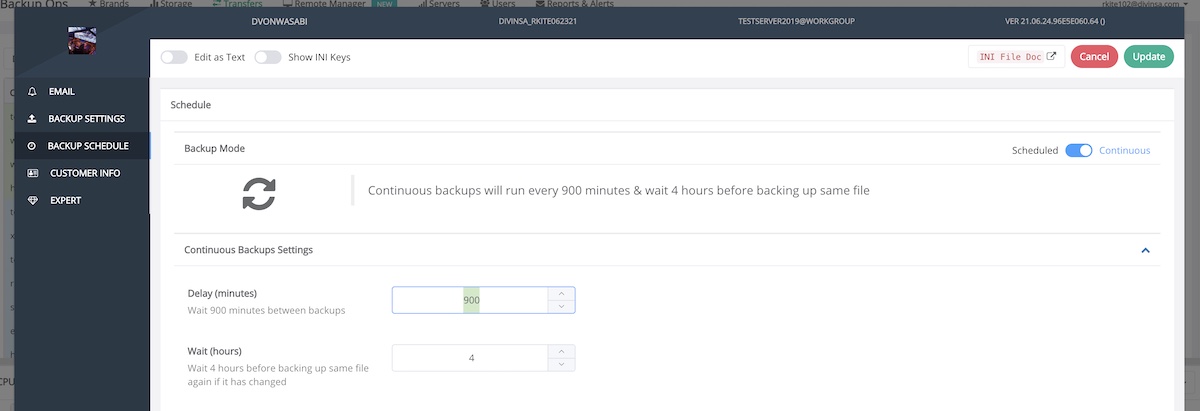
After you have made changes Click "Update" to save the new INI file and stage it for syncing on the next scheduled backup.
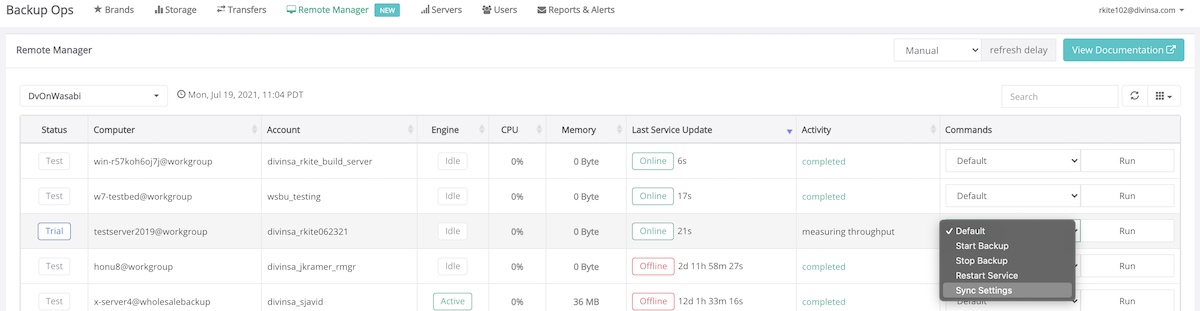
However, if you want to push and sync your new changes to that machine right now then you can do so from the Remote Manager tab of the web console. Simply, select the target computer and select "Sync Settings" and click "Run".
From the WholesaleBackup Server (remotely):
Navigate to Your WholesaleBackup Servers' Dashboard->Accounts tab, and select the "Account:" and "Computer:" you wish to change these settings for (from the pull-down menus on the tab) and then clicking on the "Settings" tab, and then modifying the settings and click on the Save button.
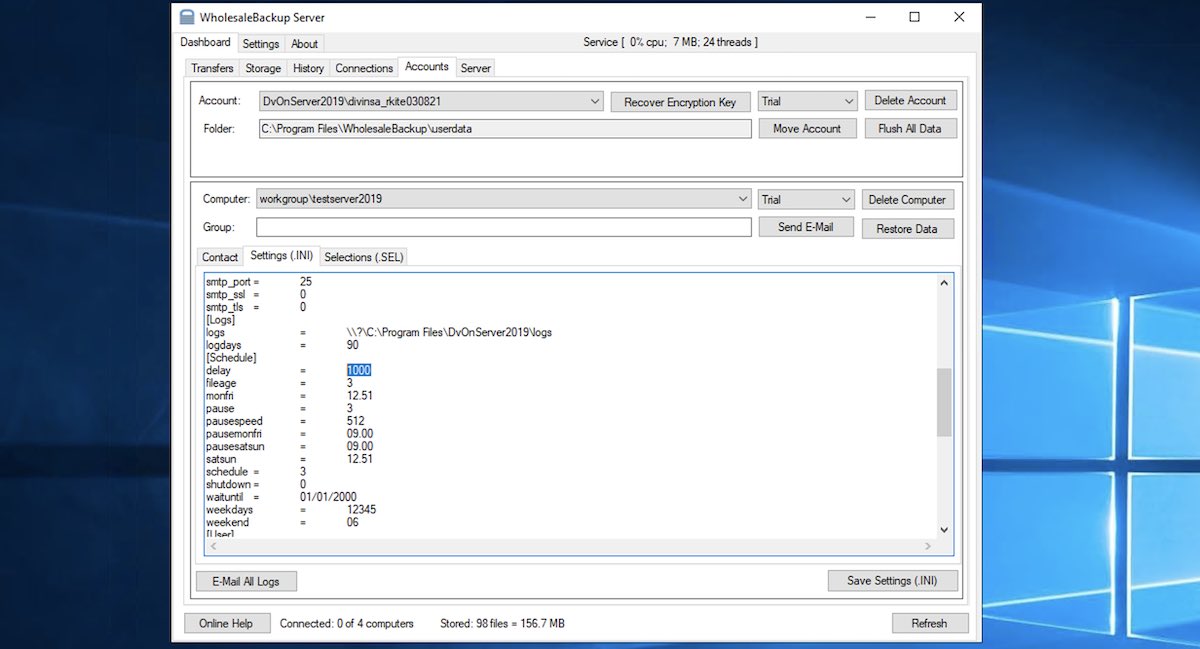
When you click on the "Save Settings (.INI)" button the client's INI file will be copied to that account's staging area, and at the next scheduled backup/restore the client will pull down the updated .INI file and utilize it for a subsequent backup.
Using a Text Editor (locally):
Located in the same folder where the software is installed on that machine, the INI file can be opened in any text editor and modified directly. It works best if you can open the text editor as Administrator before actually opening and trying to save the INI file.